 ClearStar
Free and open source · Windows 10 and 11
From raw frames to a finished astrophoto.
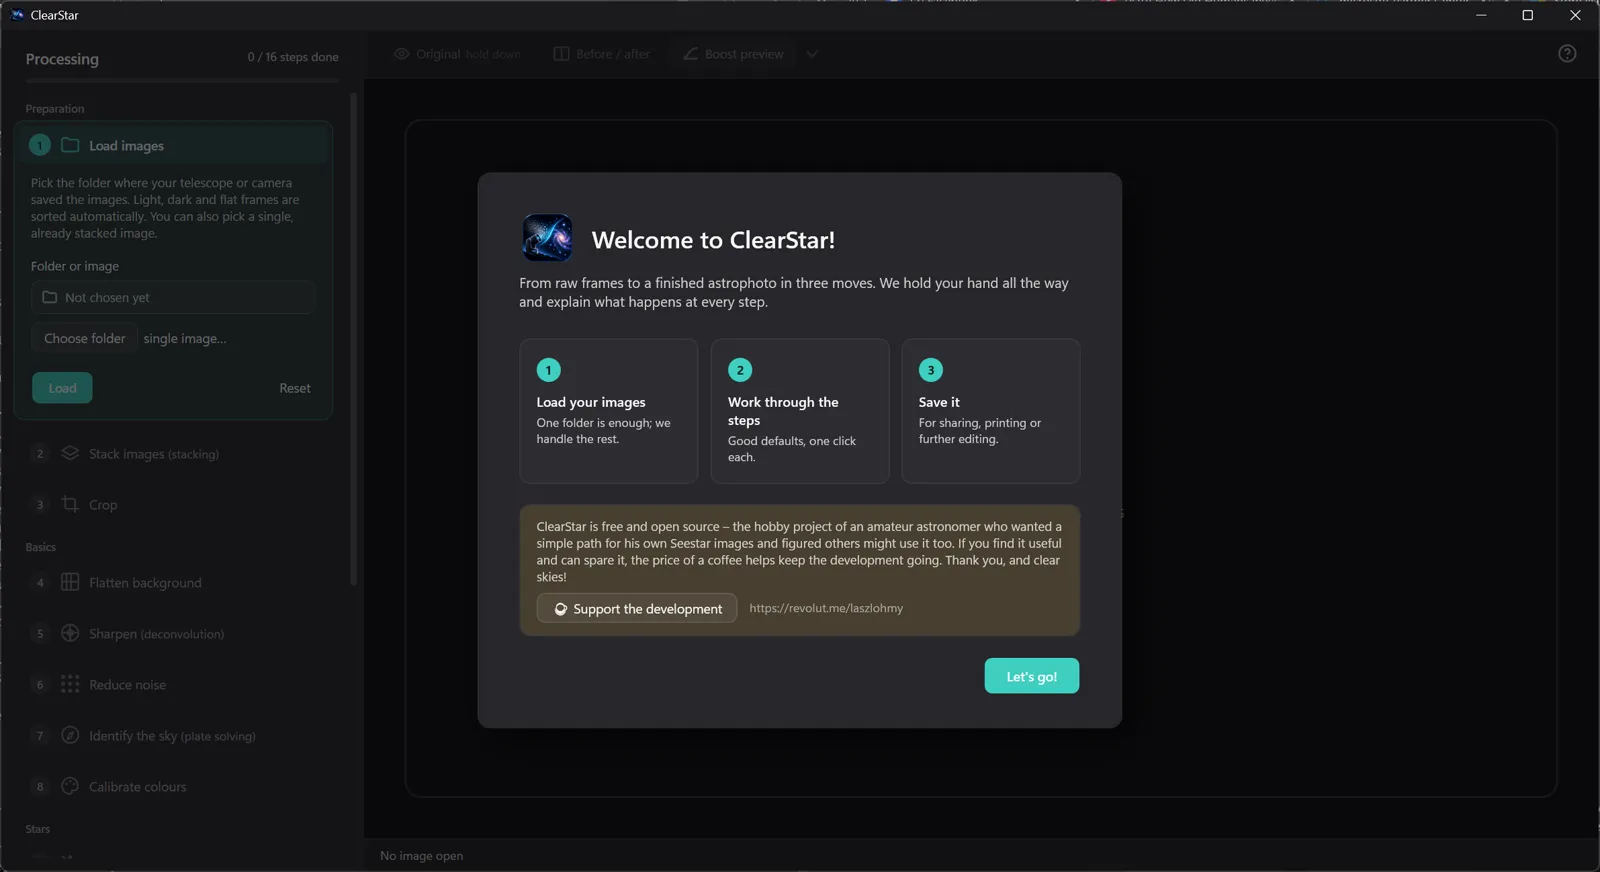
ClearStar holds your hand: in 16 steps, each with a plain-language explanation and good defaults, your Seestar or camera frames become a finished image. Click straight through and it still looks good – or dig into any step you like.

What is it?
ClearStar is astrophoto processing for beginners, made for owners of Seestar and other smart telescopes and for camera astrophotographers. It stacks your raw frames, flattens the background, sharpens, reduces noise, identifies the stars, calibrates the colours and brings out nebulae and galaxies. No prior experience needed: every step tells you what it does and why, and you see the result in a live preview.
- 1
Load your images
One folder is enough: light, dark and flat frames are sorted automatically.
- 2
Work through the steps
Good defaults, one click each – or 2–4 simple sliders if you want.
- 3
Save it
For sharing (JPEG), printing (16-bit TIFF) or further editing (FITS).
A look inside
A képek az angol felületről készültek – a program magyarul is tud, alapból a Windows nyelvén indul.
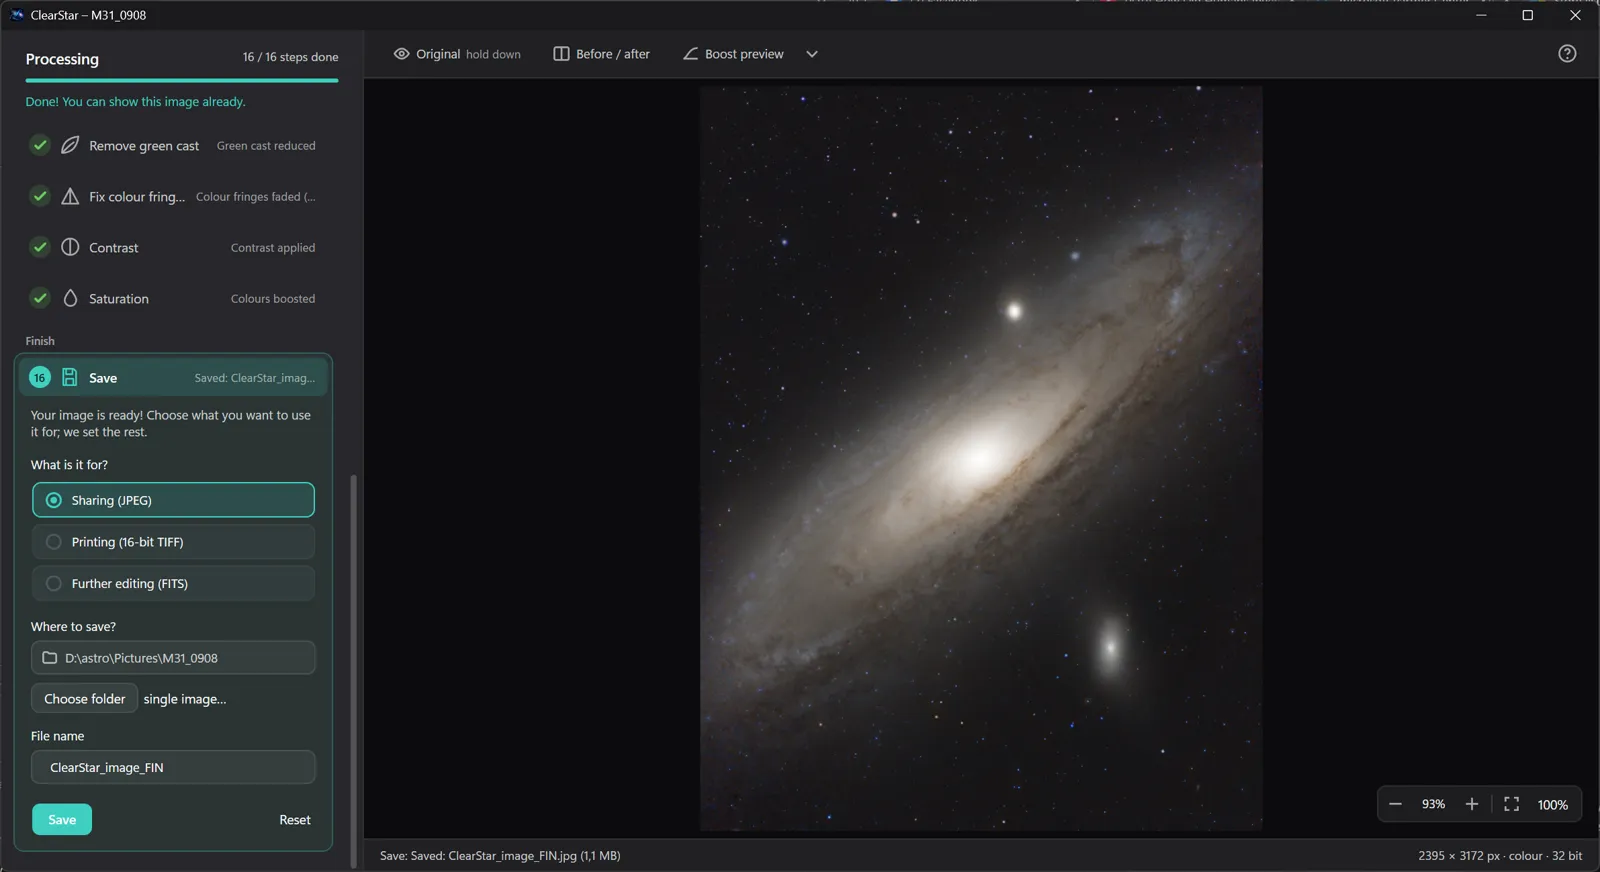
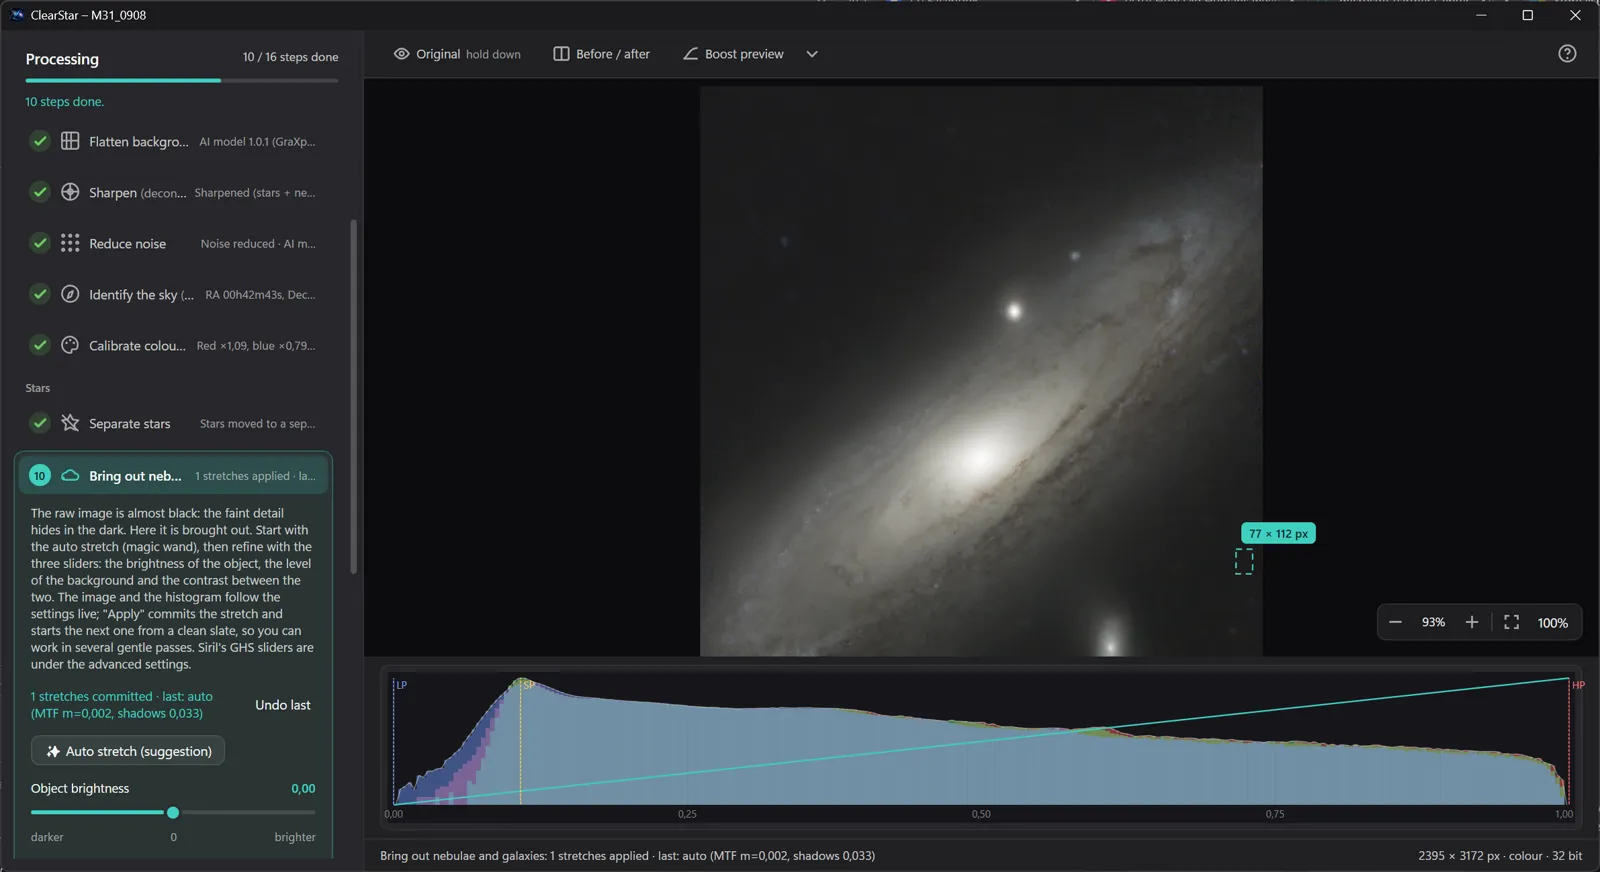
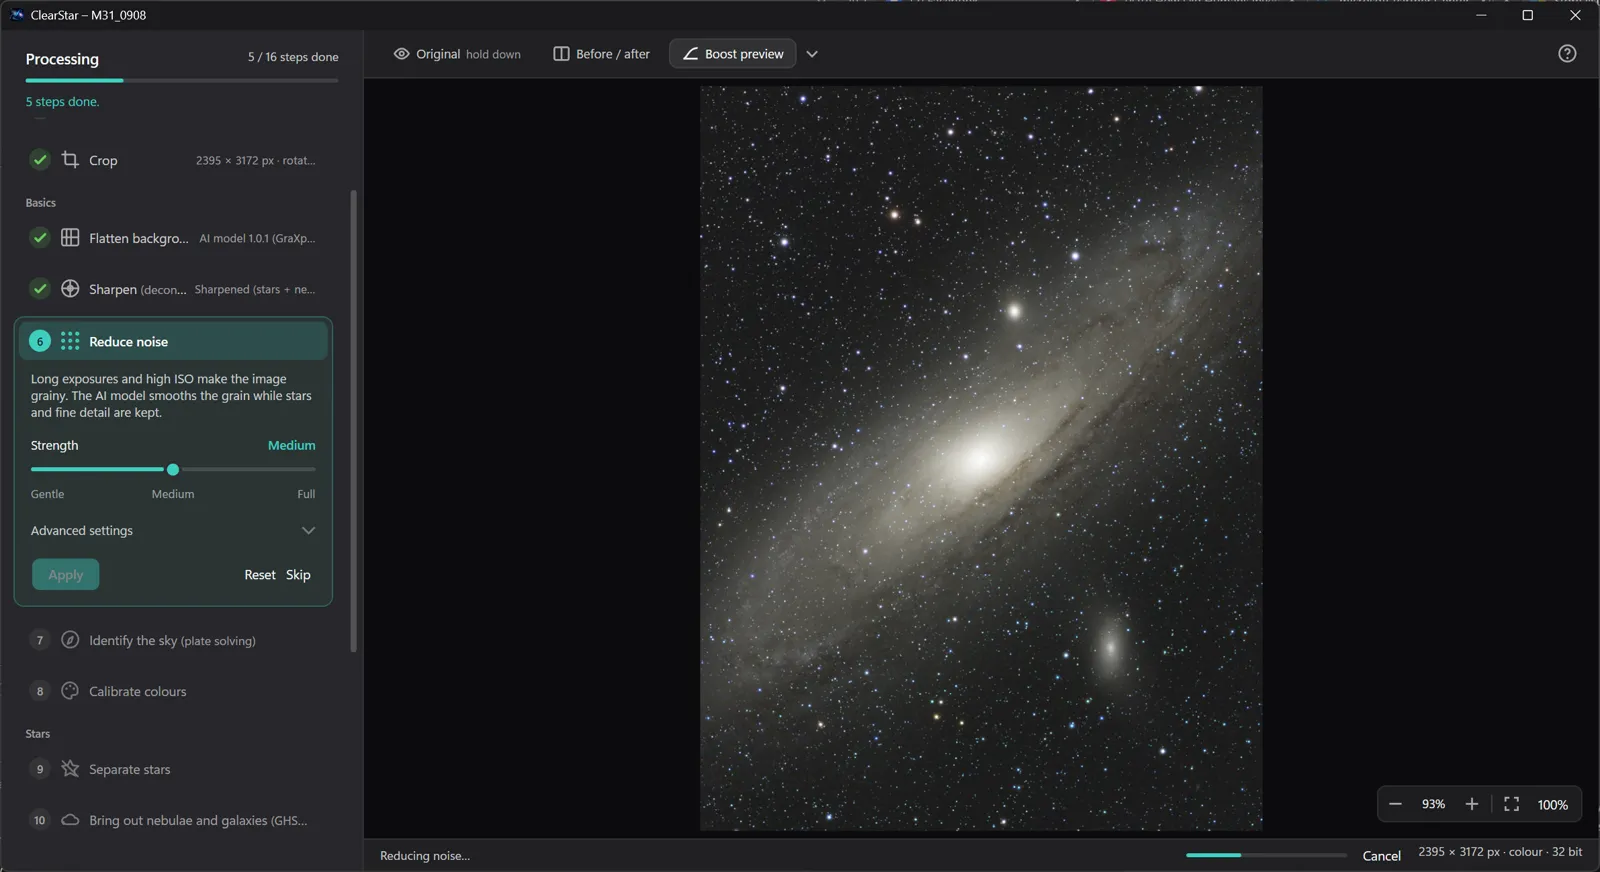
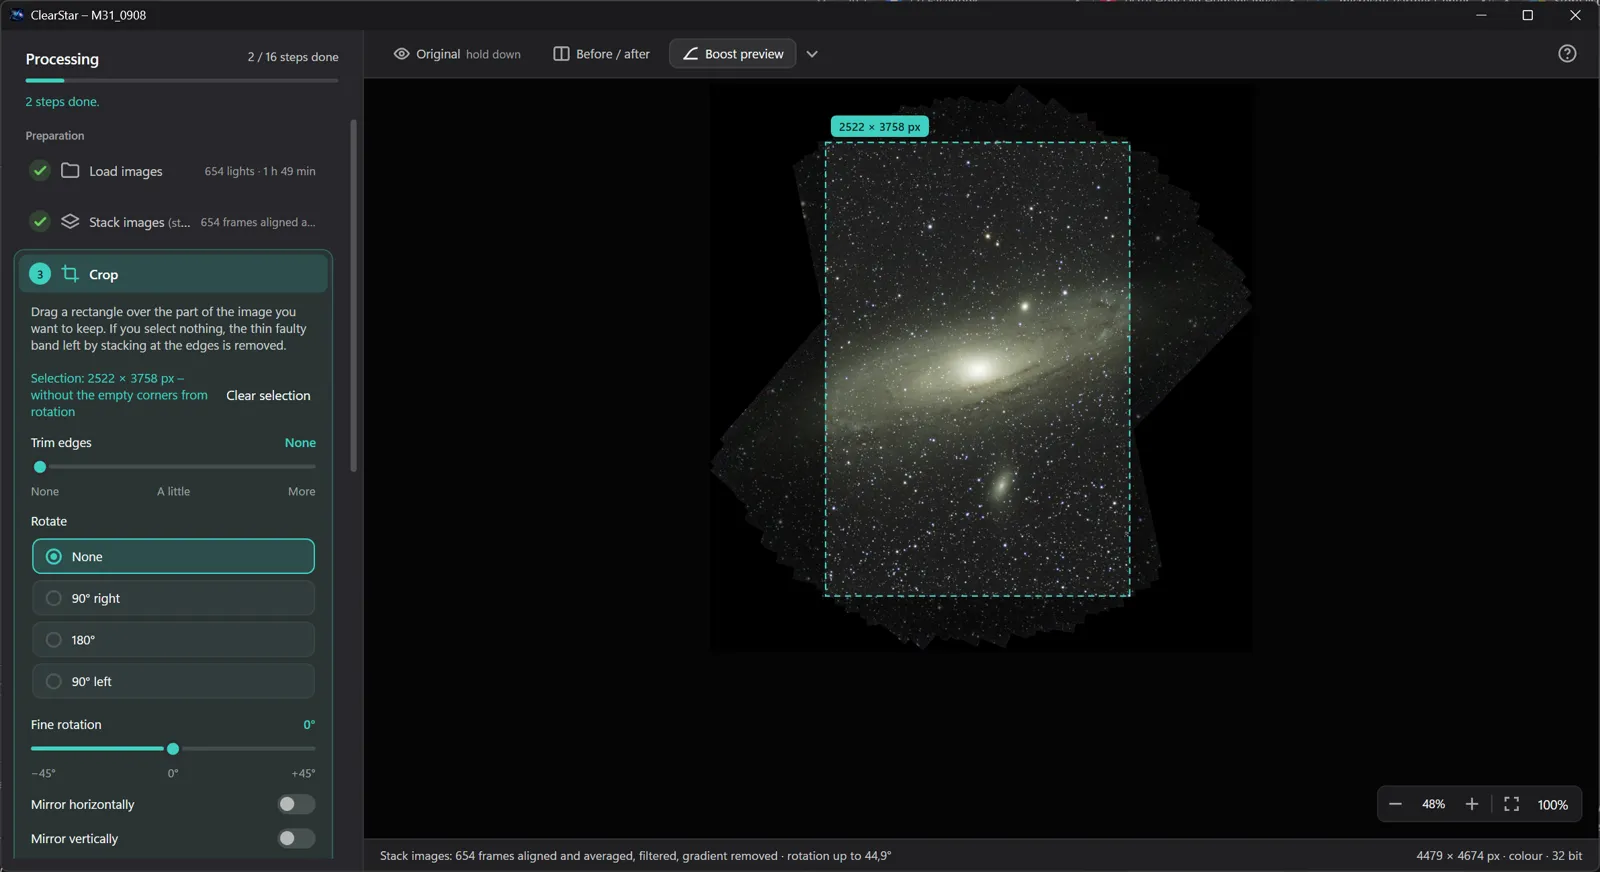
The 16 steps
Preparation
- Load imagesFITS · TIFF · PNG · JPEG
- Stack imagescalibration, star alignment
- Croprotate, mirror
Basics
- Flatten backgroundGraXpert AI
- SharpenGraXpert AI
- Reduce noiseGraXpert AI
- Identify the skyplate solving
- Calibrate coloursphotometric, Gaia
Stars
- Separate starsStarNet2
- Bring out nebulae and galaxiesGHS
- Put stars back
Refinement
- Remove green castSCNR
- Fix colour fringes
- Contrast
- Saturation
Finish
- SaveJPEG · TIFF · FITS
Good to know
- System
- Windows 10 (version 2004 or later) or Windows 11, 64-bit. Hungarian and English UI.
- Input
- FITS, TIFF, PNG, JPEG – mono, RGB and raw Bayer-pattern (OSC) images.
- AI steps
- With GraXpert's open models, on your GPU (DirectML) or CPU. The models download with one click; an installed GraXpert's models are found too.
- Star removal
- Uses your own StarNet2 – ClearStar tells you where to get it.
- Privacy
- No data collection, no account, no telemetry. The network is used only for star catalogue queries and downloads you ask for. Details
- Licence
- GPL-3.0. It learned from the work of Siril and GraXpert; GraXpert's AI models are licensed CC BY-NC-SA 4.0.
ClearStar is free and open source – the hobby project of an amateur astronomer who wanted a simple path for his own Seestar images and figured others might use it too. If you find it useful and can spare it, the price of a coffee helps keep the development going. Thank you, and clear skies!
Support the development